AWS
AWS Integration Setup Guide
Complete guide for integrating AWS with CyberOptix using cross-account IAM roles.
Overview
CyberOptix uses a cross-account IAM role with read-only permissions to discover and monitor AWS resources across your organization. This guide walks through creating the necessary IAM policies, service account, and role configuration.
Prerequisites
- Access to AWS Management Console
- IAM permissions to create users, roles, and policies
- AWS Organizations access (if integrating multiple accounts)
Part 1: Create IAM Policies
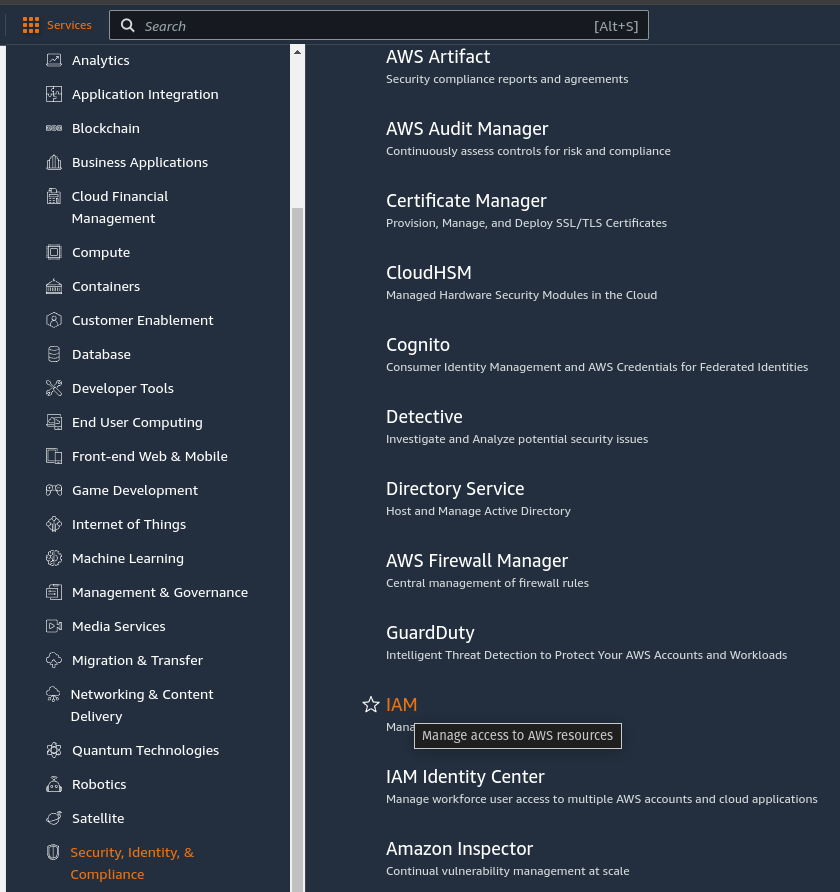
Step 1: Navigate to IAM
- Open AWS Console → Security, Identity, & Compliance → IAM
Step 2: Create Read-Only Policy
- Click Policies → Create policy
- Select JSON tab
- Paste the following policy:
{
    "Version": "2012-10-17",
    "Statement": [
        {
            "Effect": "Allow",
            "Action": [
                "organizations:ListAccounts",
                "ec2:Describe*",
                "cloudwatch:List*",
                "cloudwatch:Get*",
                "ssm:Describe*",
                "ssm:Get*",
                "ssm:List*"
            ],
            "Resource": "*"
        }
    ]
}- Click Next
- Name the policy:
cyberoptix-readonly-policy - Click Create policy
Step 3: Create Assume Role Policy
- Click Policies → Create policy
- Select JSON tab
- Paste the following policy:
{
    "Version": "2012-10-17",
    "Statement": [
        {
            "Effect": "Allow",
            "Action": "sts:AssumeRole",
            "Resource": "arn:aws:iam::*:role/CyberOptixReadOnlyAssumeRole"
        }
    ]
}- Click Next
- Name the policy:
cyberoptix-assume-role-policy - Click Create policy
Part 2: Create IAM Service Account
Step 1: Create User
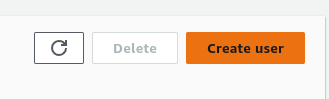
- Navigate to IAM → Users → Create user
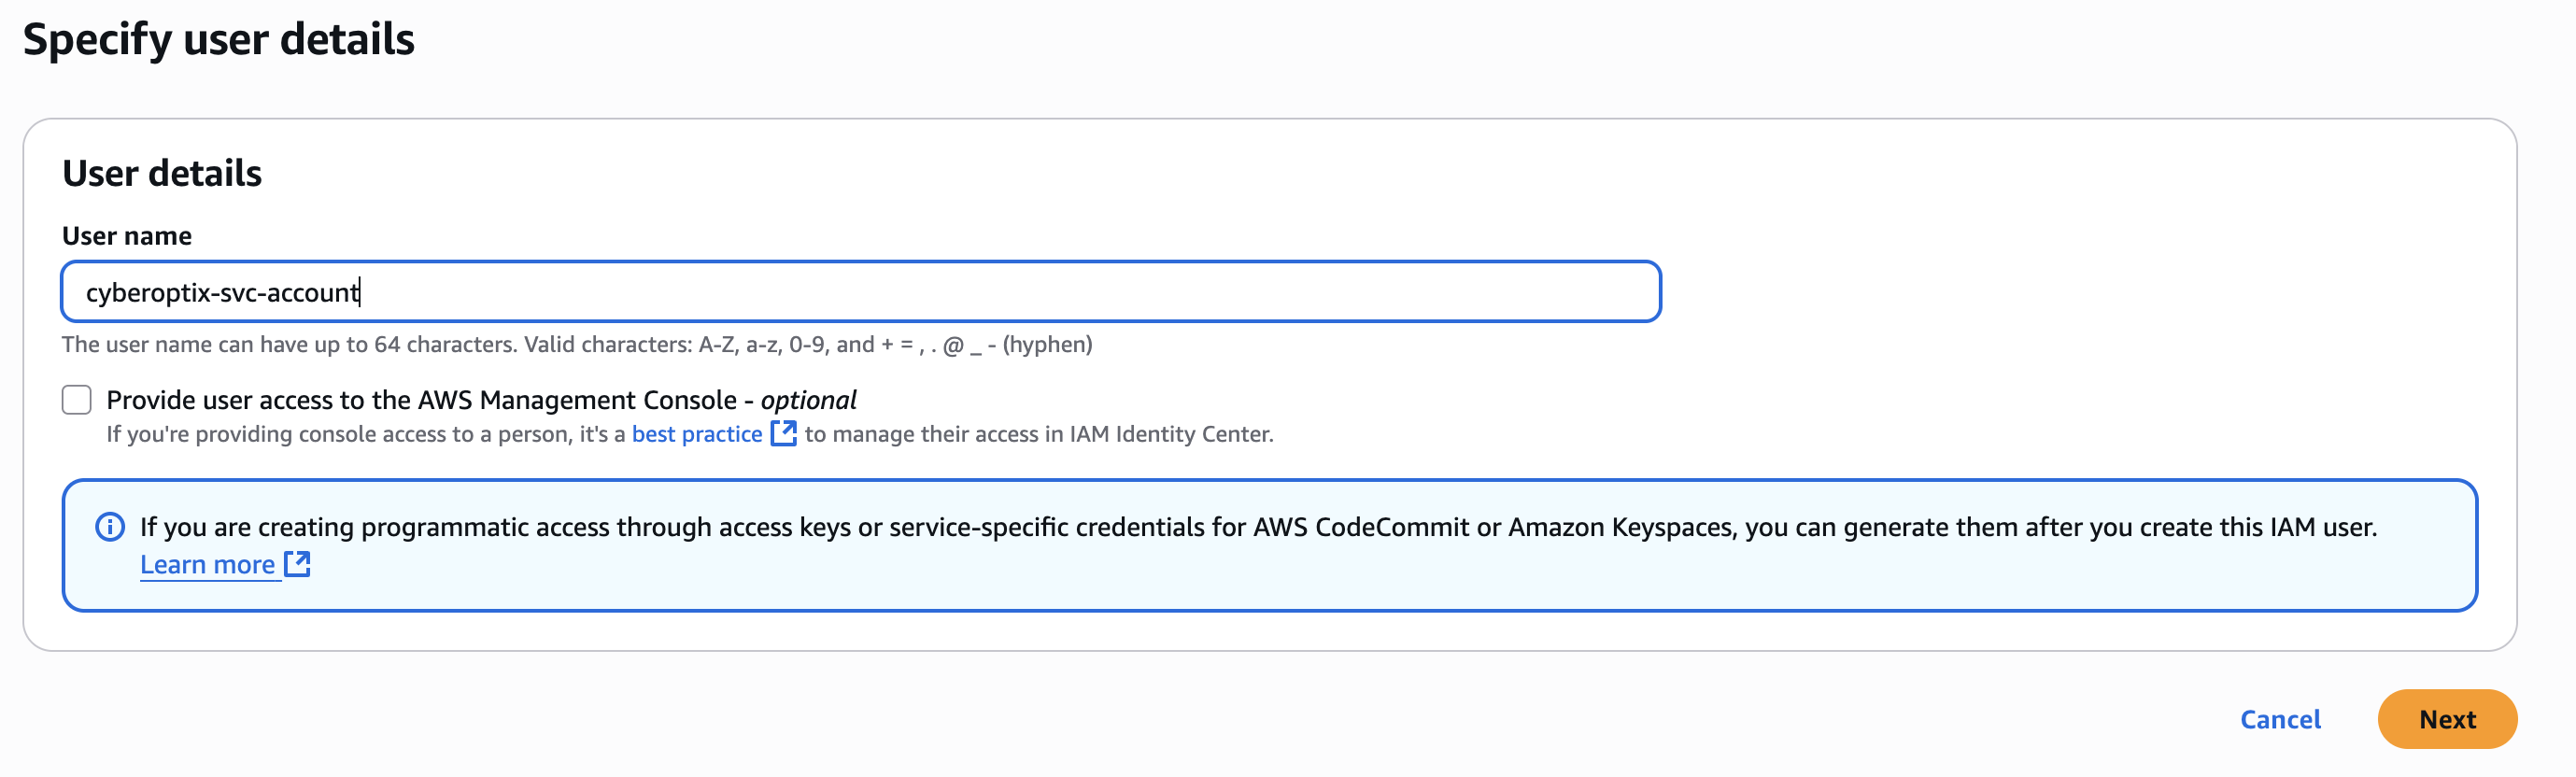
- Enter a username:
cyberoptix-svc-account - Do NOT select "AWS Management Console access"
- Click Next
Step 2: Attach Policies
- Select Attach policies directly
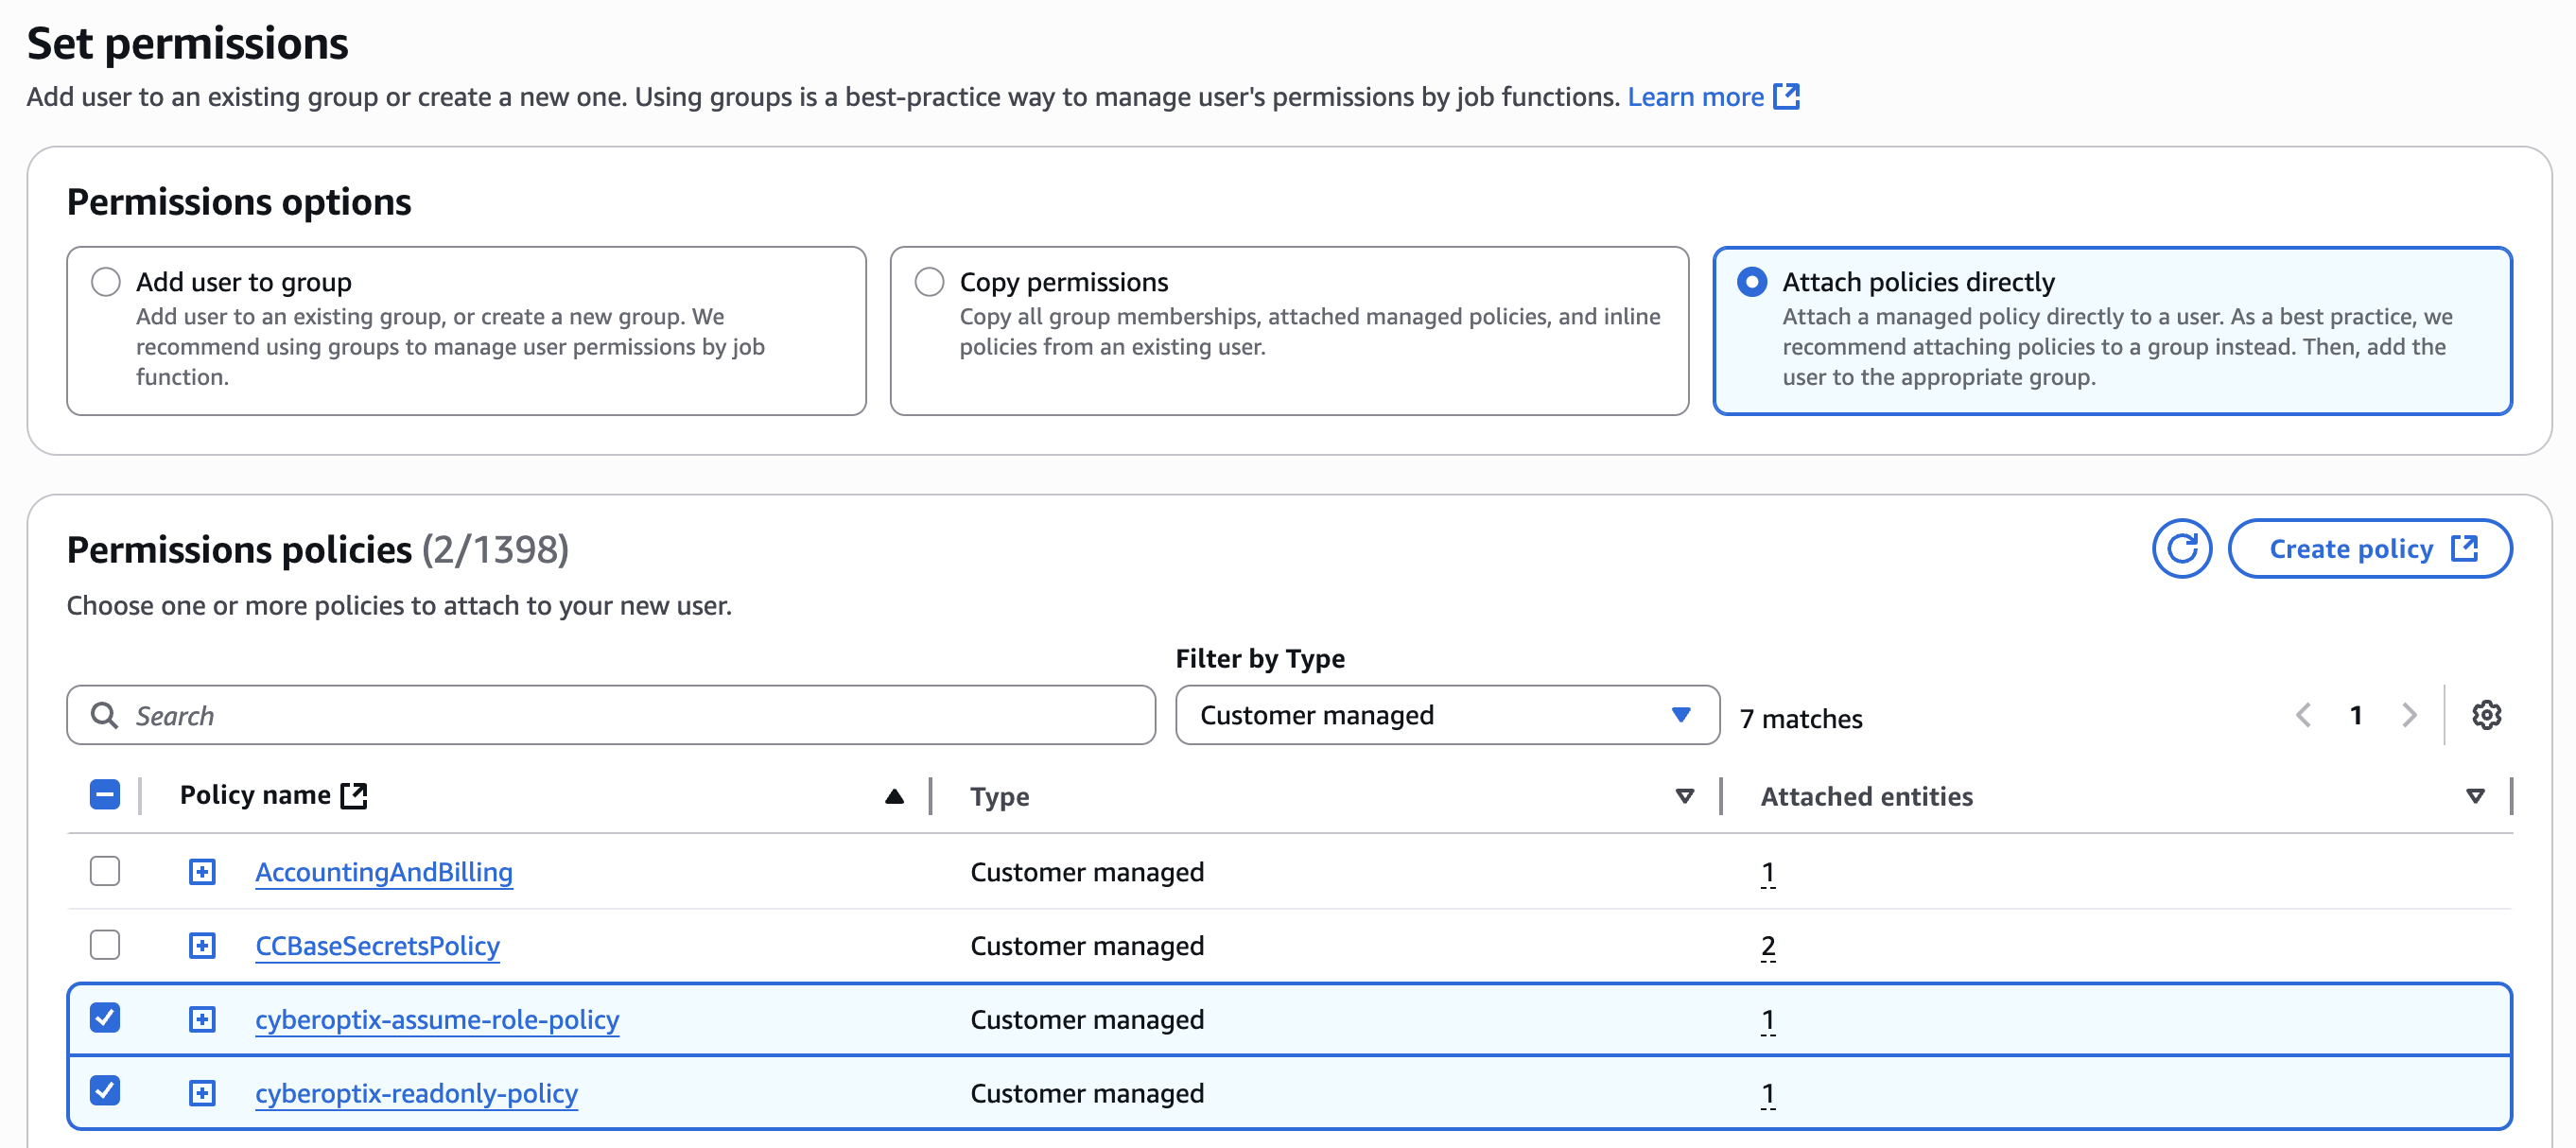
- Select both policies created in Part 1:
cyberoptix-readonly-policycyberoptix-assume-role-policy
- Click Next → Create user
Step 3: Create Access Keys
- Click on the newly created user
- Navigate to Security credentials tab

- Scroll to Access keys → Create access key
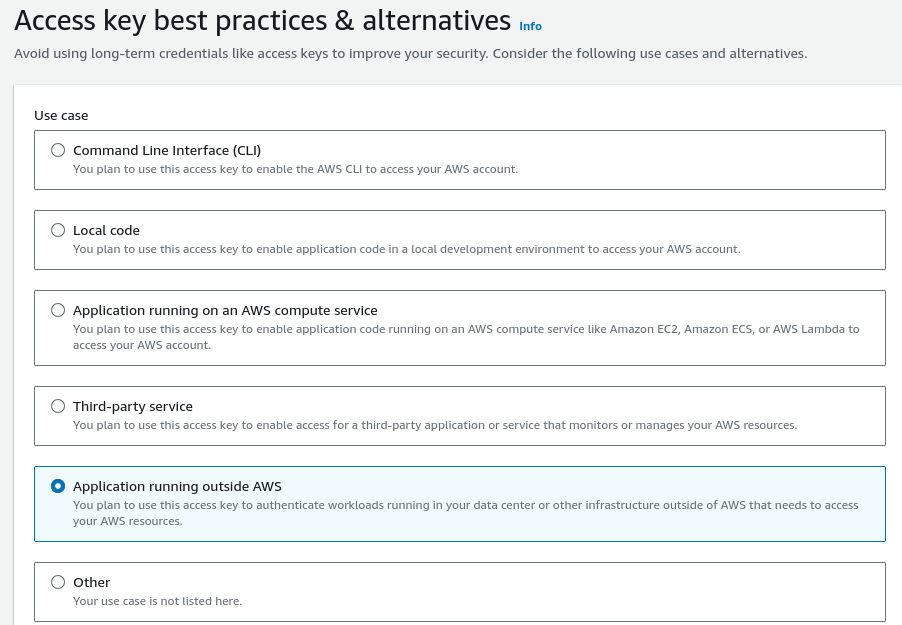
- Select Application running outside AWS
- Click Next
- Add a description tag (optional)
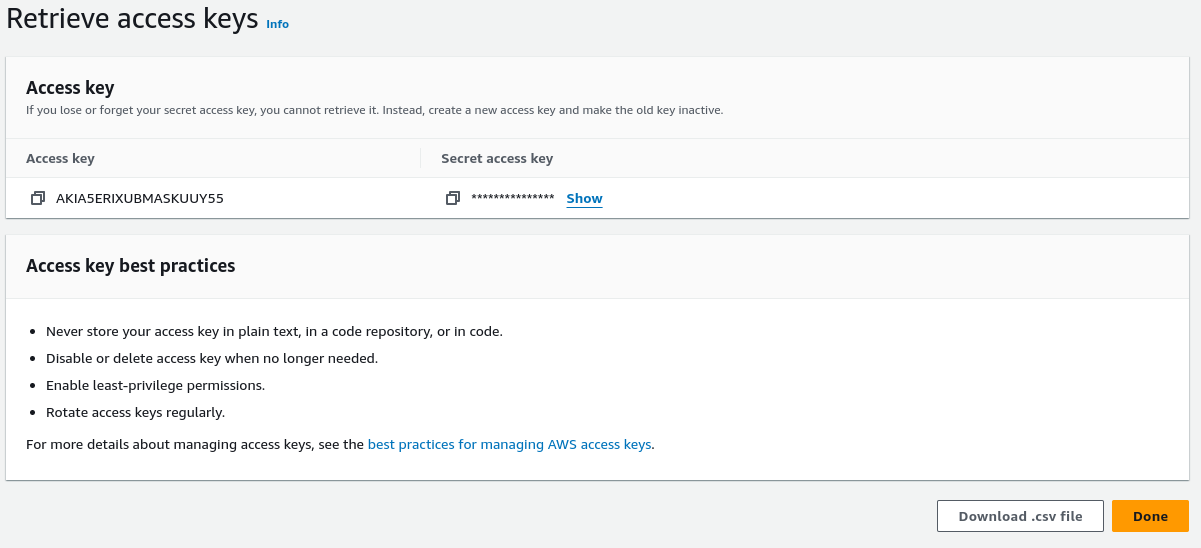
- Click Create access key
- Save the Access Key ID and Secret Access Key - you'll need them in Part 4
Part 3: Configure Cross-Account Role (Multi-Account Setup)
Skip this section if you only have a single AWS account.
Repeat these steps in each AWS account you want to integrate with CyberOptix.
Step 1: Create IAM Role
- Navigate to IAM → Roles → Create role
- Select Custom trust policy
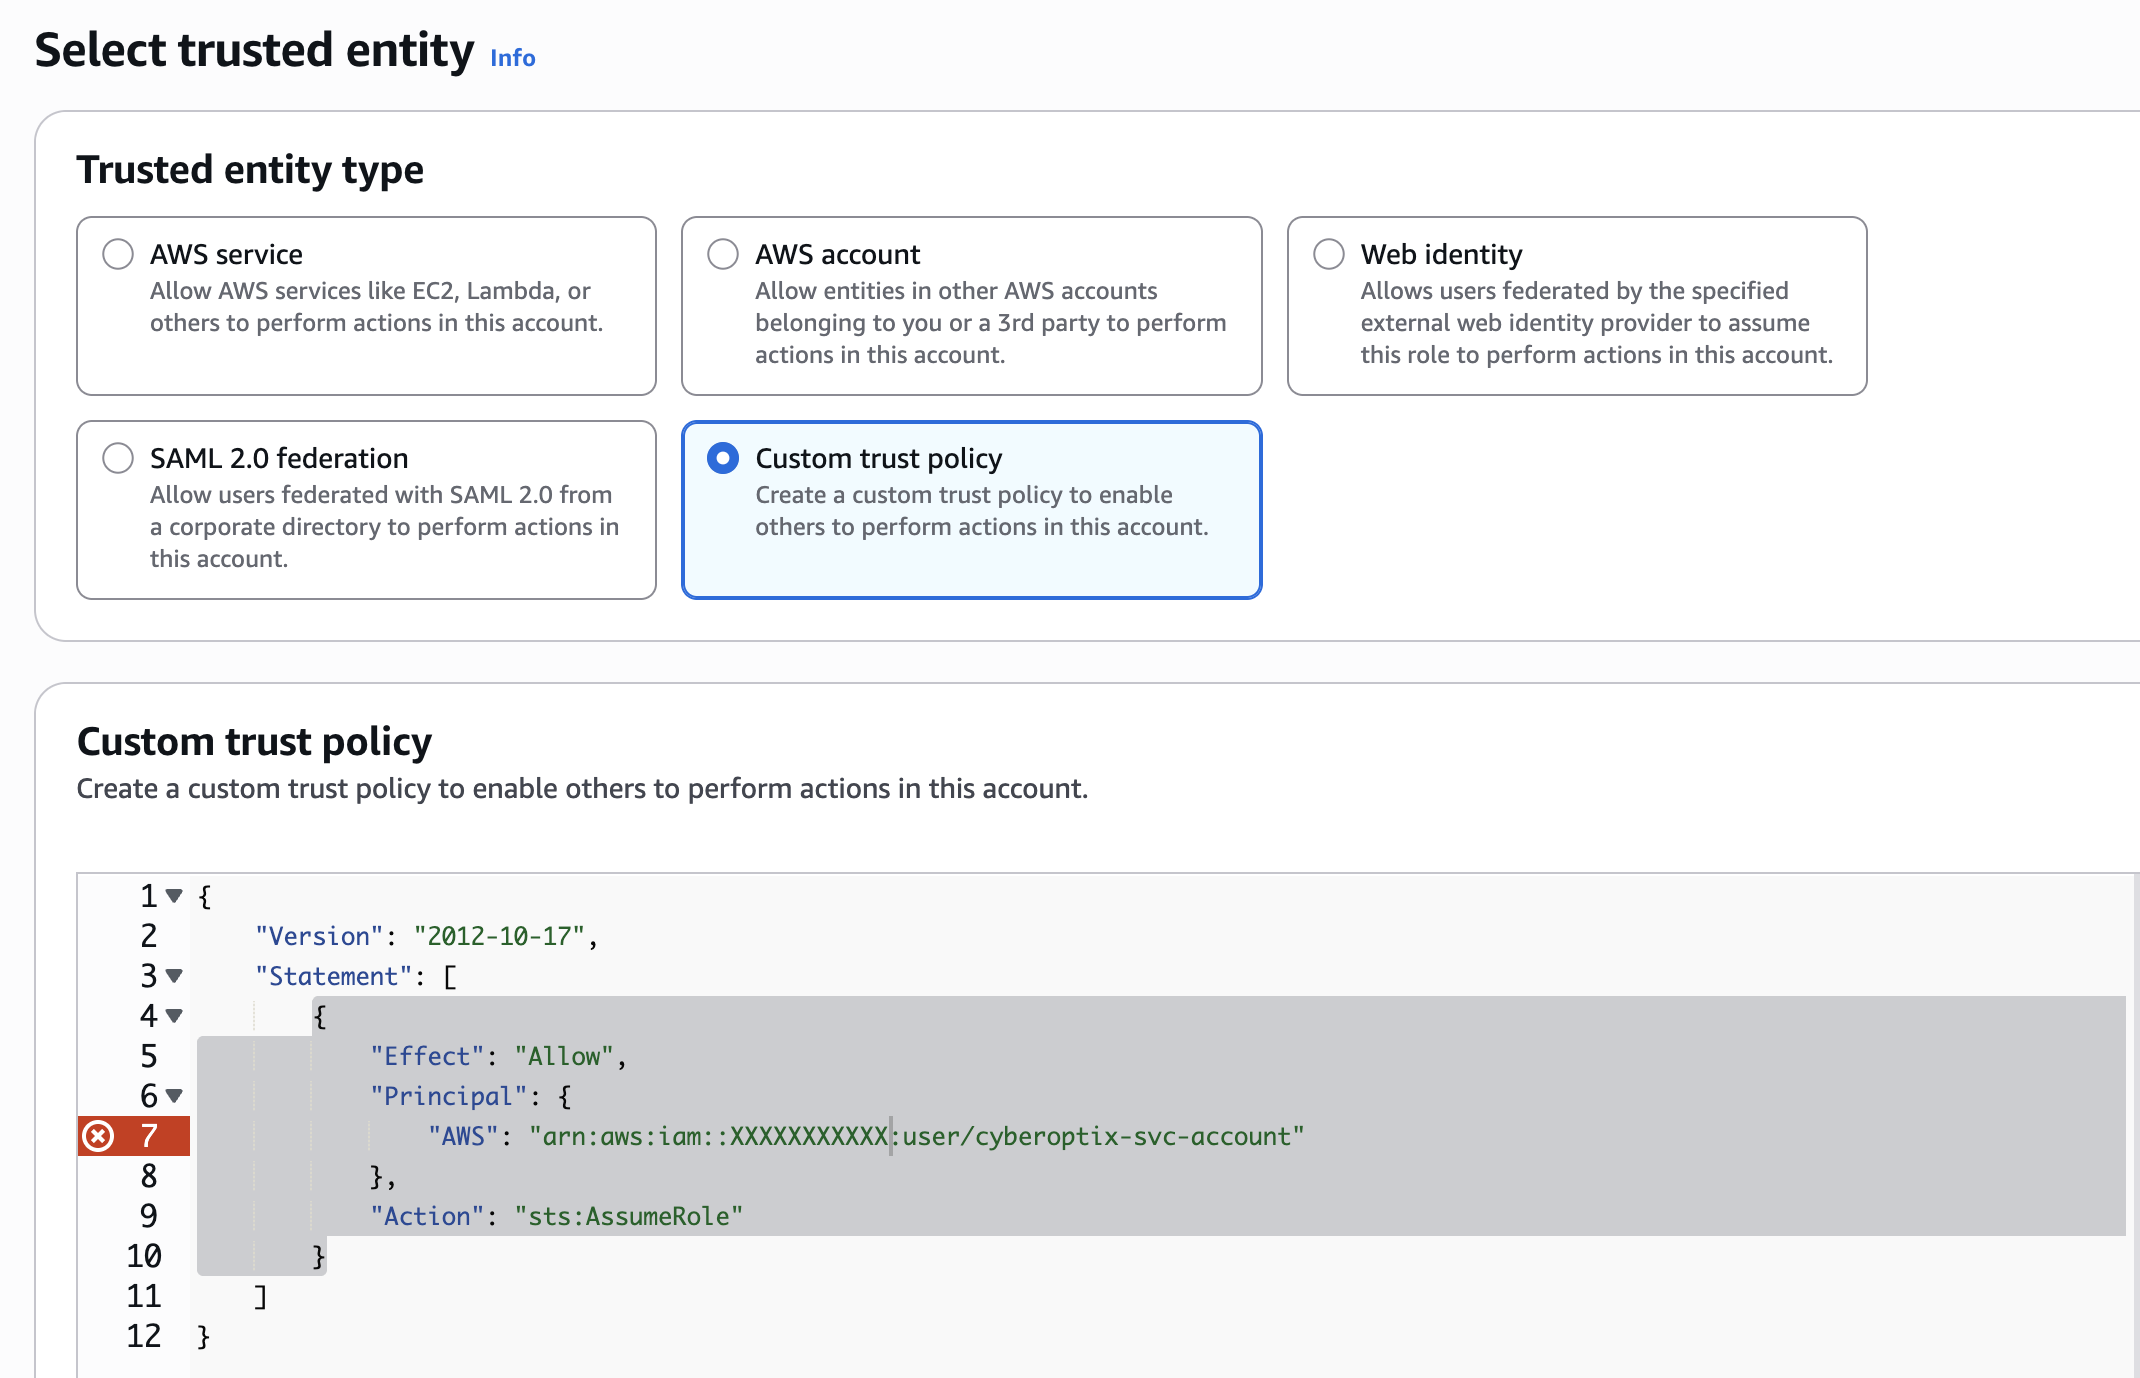
- Paste the following trust policy (replace
XXXXXXXXXXXwith your management account ID):
{
    "Version": "2012-10-17",
    "Statement": [
        {
            "Effect": "Allow",
            "Principal": {
                "AWS": "arn:aws:iam::XXXXXXXXXXX:user/cyberoptix-svc-account"
            },
            "Action": "sts:AssumeRole"
        }
    ]
}- Click Next
Step 2: Attach AWS Managed Policies
- Toggle the filter to All types
- Select the following AWS managed policies:
ReadOnlyAccessCloudWatchReadOnlyAccessAmazonSSMReadOnlyAccess
- Click Next
Step 3: Name the Role
- Enter role name:
CyberOptixReadOnlyAssumeRole - Click Create role
Important: The role name must be exactly
CyberOptixReadOnlyAssumeRoleto match the assume role policy created in Part 1.
Part 4: Add Integration to CyberOptix
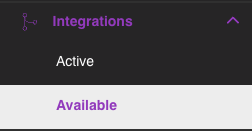
Step 1: Navigate to Integrations
- Log in to CyberOptix
- Navigate to Integrations → Available Integrations
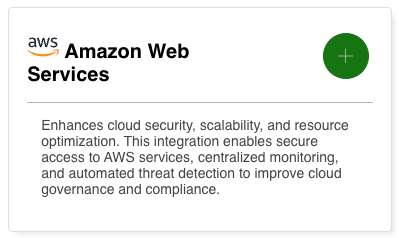
Step 2: Create AWS Integration
- Select AWS as the integration type
- Enter the credentials from Part 2, Step 3:
- Access Key ID: From the service account access keys
- Secret Access Key: From the service account access keys
- AWS Assume Role:
CyberOptixReadOnlyAssumeRole
Note: If the role is in a directory, include the full path (e.g.,
/path/CyberOptixReadOnlyAssumeRole)
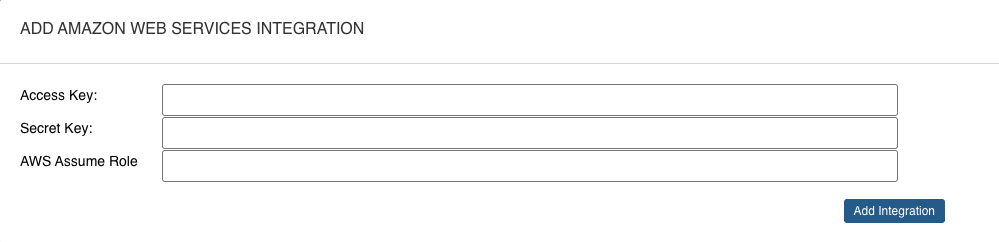
- Click Submit
Step 3: Verify Integration
The integration will appear in your Active Integrations list. CyberOptix will begin discovering AWS resources within a few minutes.
Permission Summary
IAM Service Account Policies
| Policy | Purpose |
|---|---|
| cyberoptix-readonly-policy | Read EC2, CloudWatch, SSM, and list organization accounts |
| cyberoptix-assume-role-policy | Assume cross-account roles |
Cross-Account Role Permissions
| AWS Managed Policy | Purpose |
|---|---|
| ReadOnlyAccess | Read all AWS resources |
| CloudWatchReadOnlyAccess | Read CloudWatch metrics and logs |
| AmazonSSMReadOnlyAccess | Read Systems Manager parameters and configurations |
What Data CyberOptix Collects
CyberOptix performs read-only operations on the following AWS resources:
Compute & Networking:
- EC2 instances, AMIs, snapshots, volumes
- VPCs, subnets, security groups, network interfaces
- Elastic Load Balancers, Auto Scaling Groups
Monitoring & Management:
- CloudWatch metrics, alarms, and logs
- Systems Manager parameters and patch compliance
- AWS Config rules and compliance status
Organization:
- AWS Organization accounts list
- Account metadata and structure
Additional Resources
Updated 8 months ago